

Stop Creating Ash Mountains: 5 Quick Hacks for Cleaner Grilling
We've all been there – you fire up the grill for a perfect BBQ session, only to end up with what looks like a volcanic ash field by the time you're done. Mountains of gray dust everywhere, clogged vents, uneven heat, and a cleanup job that makes you question why you didn't just order takeout.
Here's the thing: excessive ash isn't just annoying – it's actually sabotaging your grilling game. When ash builds up, it acts like a thermal blanket around your coals, choking airflow and making temperature control nearly impossible. The result? Uneven cooking, wasted fuel, and a messy grill that takes forever to clean.
But what if I told you that with just a few simple tweaks, you could cut your ash production by up to 70% while actually improving your grilling results? These five game-changing hacks will transform your BBQ experience from a dusty disaster into a clean, controlled cooking session.
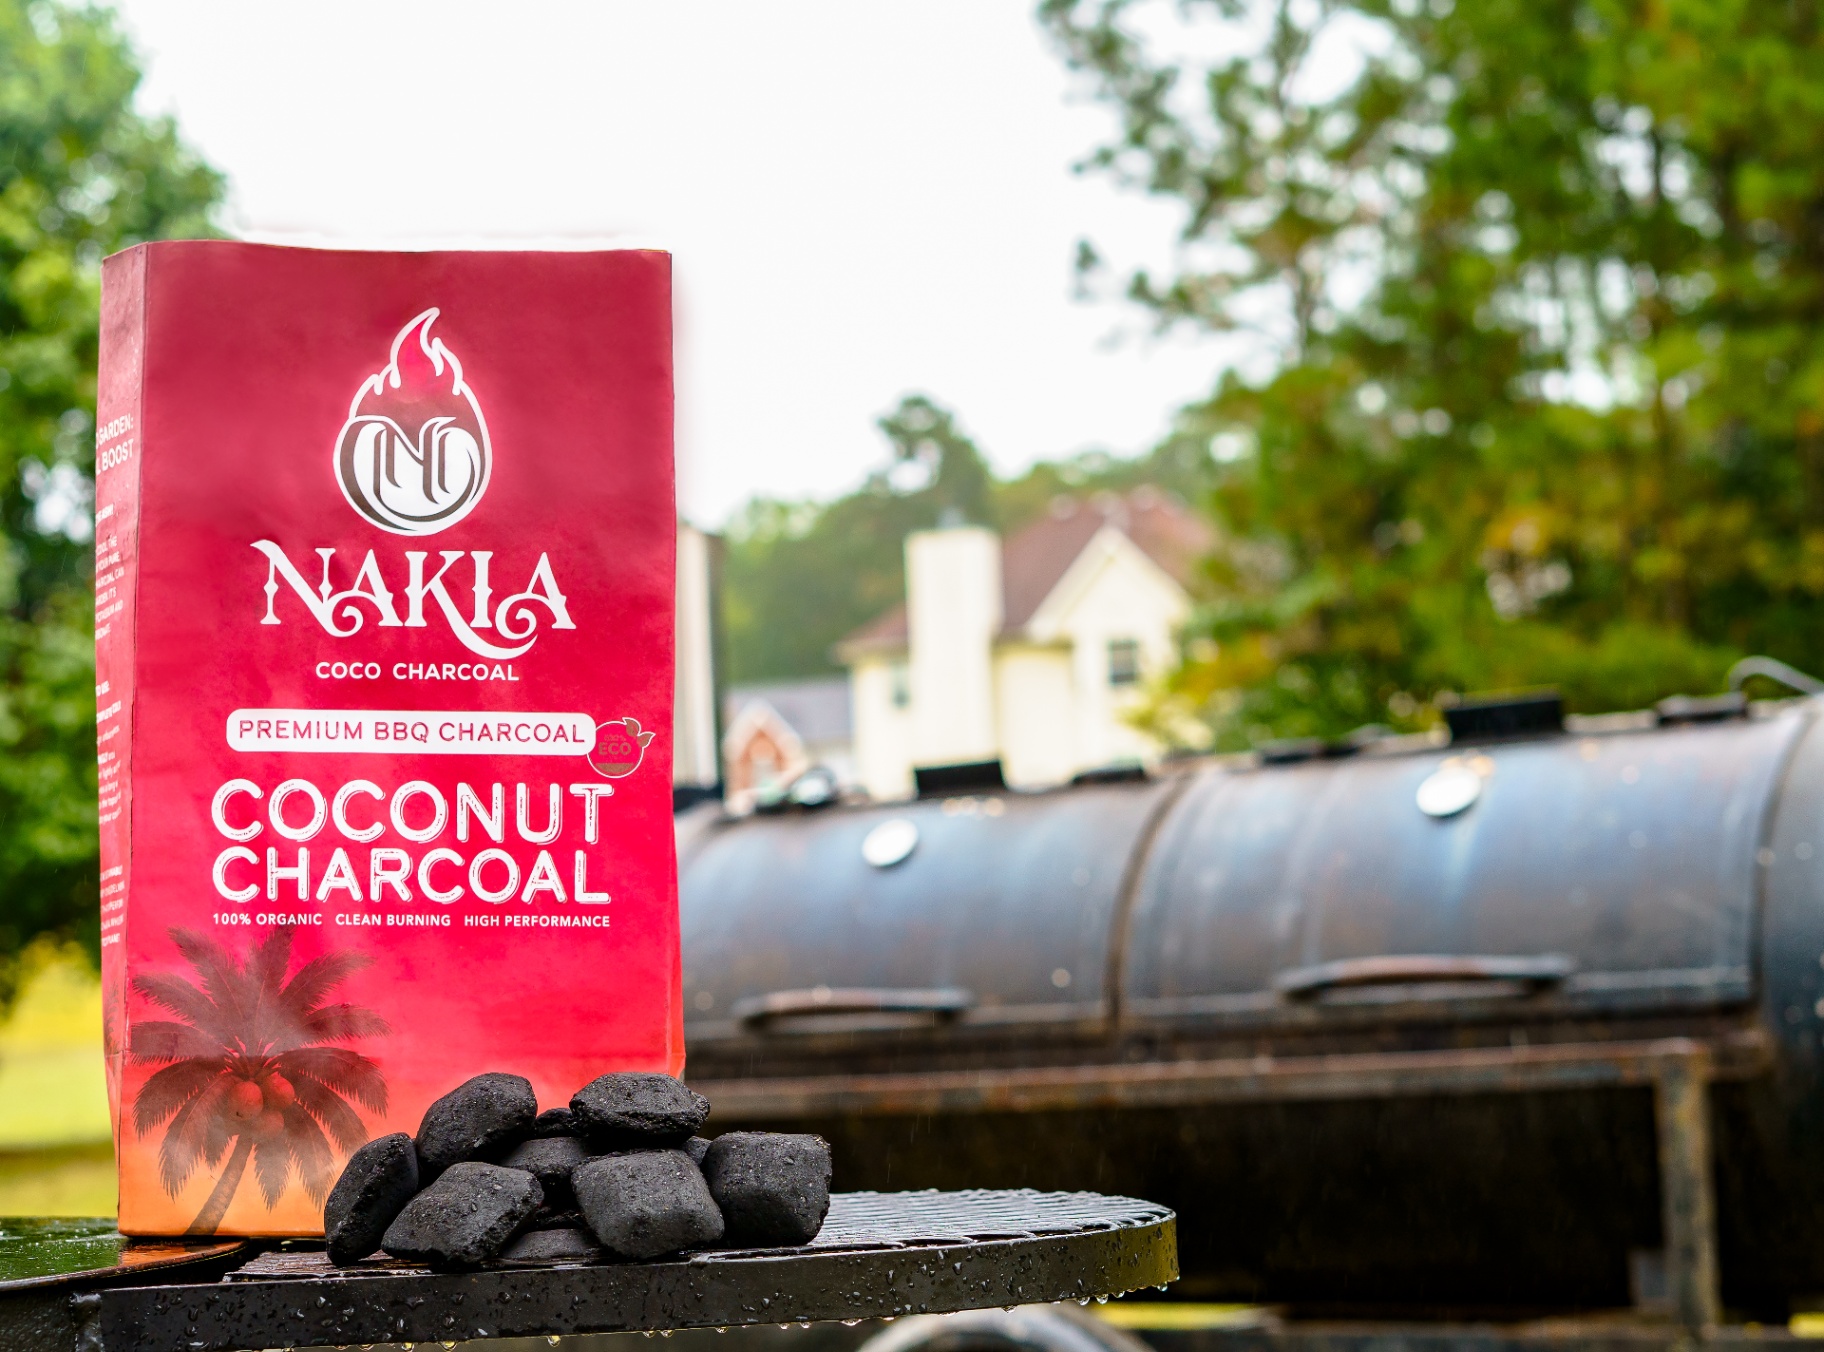
Hack #1: Make the Switch to Coconut Charcoal
This is hands down the biggest game-changer you can make. Traditional charcoal creates 3-4 times more ash than high-quality coconut charcoal, and here's why: regular briquettes contain fillers, binders, and additives that burn away as ash, while pure coconut shell charcoal is nearly 100% carbon.
Nakia Coco Charcoal produces 85% less ash than traditional charcoal while burning 20-30% longer. That means fewer refueling breaks, less mess, and more consistent heat throughout your cook.
Why coconut charcoal creates less ash:
- Made from compressed coconut shells with zero fillers
- Burns completely with minimal residue
- Higher carbon content means more heat, less waste
- No chemical binders that turn to ash
Pro tip: Start with about 25% less coconut charcoal than you'd normally use with traditional briquettes. The higher density and longer burn time means you'll get the same cooking power with less fuel.
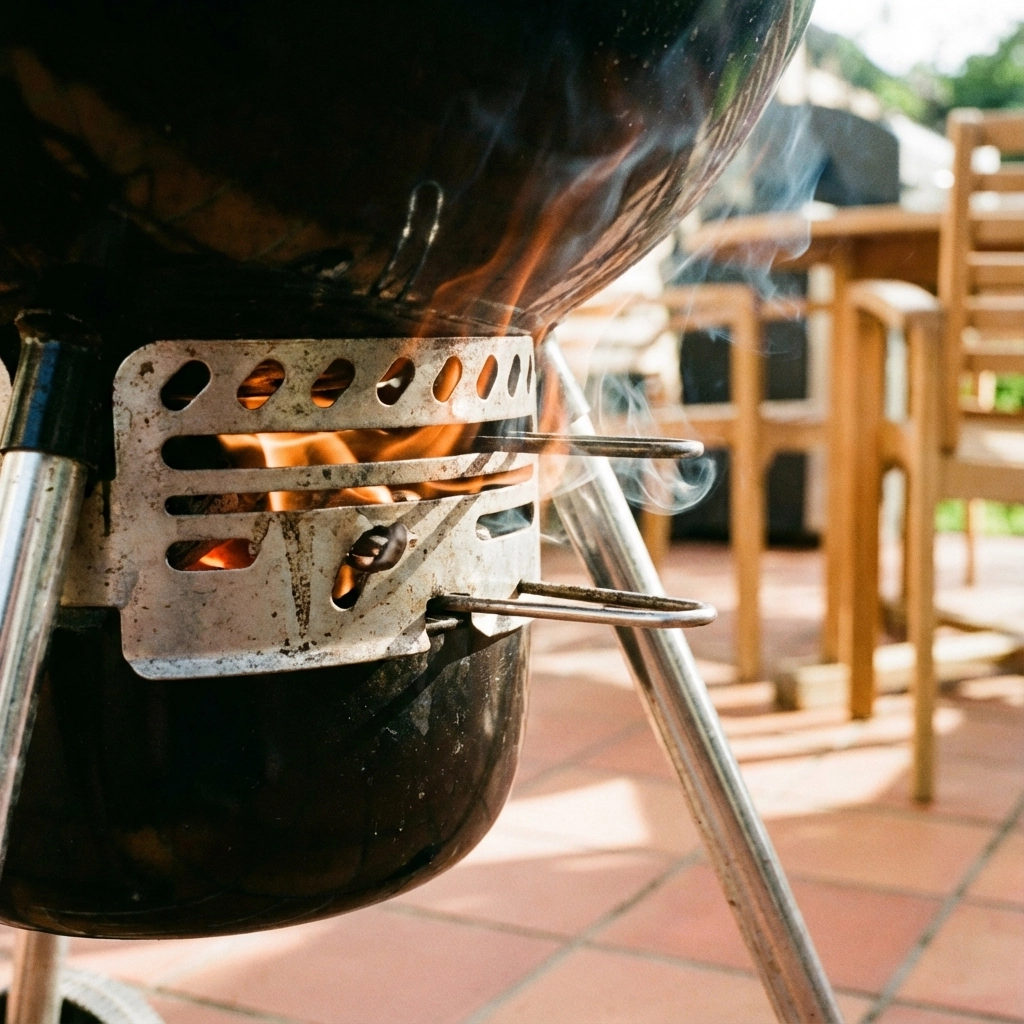
Hack #2: Master Your Airflow Management
Poor airflow is ash enemy #1. When coals don't get enough oxygen, they burn inefficiently, creating more ash and less heat. It's like trying to breathe through a straw – everything gets choked up.
The airflow formula:
- Bottom vents: Start 100% open for lighting, then adjust to 50-75% for cooking
- Top vents: Keep open throughout cooking to prevent ash from settling back down
- Clean vents: Check monthly and clear any ash buildup with a thin wire or paper clip
Quick airflow test: If your coals are struggling to maintain temperature after 20 minutes, or if you see white ash coating everything too quickly, you've got an airflow problem. Open those vents wider and give your fire some breathing room.
The 2-zone trick: Pile your coals to one side and leave the other side empty. This creates natural airflow patterns that help ash blow away from your cooking area while maintaining consistent heat zones.
Hack #3: Use the "Knock and Vacuum" Cleaning Method
Forget the old-school approach of letting ash pile up until your next cook. The smartest grillers clean strategically during and after each session.
During cooking:
- Gently tap coals with long-handled tongs every 45-60 minutes
- This knocks loose ash away before it can accumulate
- Don't go crazy – just a light tap to break up ash buildup
After cooking (24-48 hours later):
- Use a shop vacuum with a fine filter to remove ash
- This is 10x faster than scooping and creates zero dust clouds
- Vacuum from multiple angles to get ash hiding in corners
The bucket method: Keep a dedicated metal bucket for ash collection. Let ashes cool completely (at least 48 hours), then wrap in aluminum foil before disposal. This method lets you collect ash from multiple sessions without constant trips to the trash.
Hack #4: Perfect Your Preheat Process
Most people rush the preheat, which creates a smoky, ash-heavy start to their cook. The secret is a controlled, gradual heat buildup that burns fuel efficiently from the start.
The 15-minute rule:
- Light your charcoal and let it burn with vents wide open
- Wait until 75% of coals are covered with light ash (10-15 minutes)
- Only then adjust vents and add food
Why this works: Charcoal goes through different burning phases. The initial phase produces more smoke and ash as volatile compounds burn off. By waiting for the clean-burning phase, you start cooking with established heat and minimal ongoing ash production.
Temperature checkpoint: Your grill should hit your target temperature and hold it steady for at least 5 minutes before you start cooking. If temperatures are fluctuating wildly, you're likely still in the high-ash burning phase.
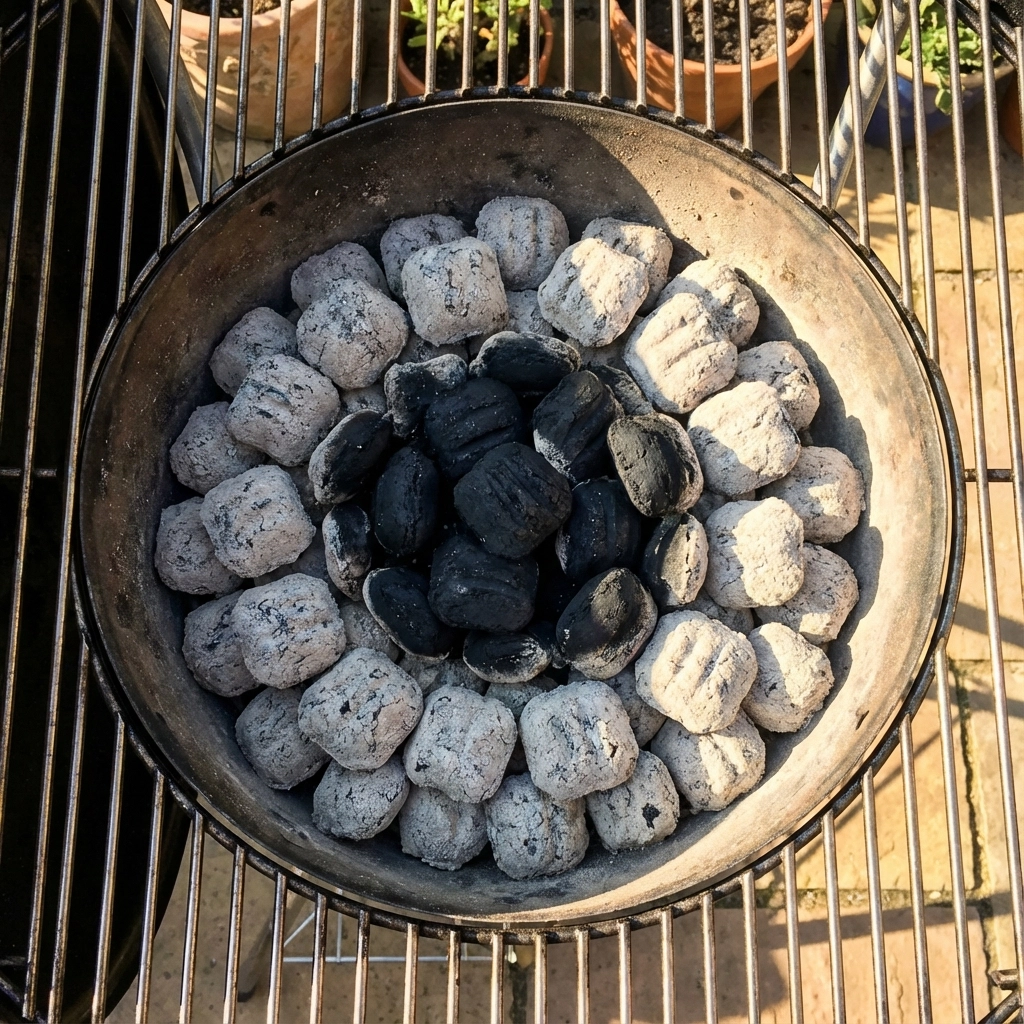
Hack #5: Strategic Fuel Loading
How you load and manage your charcoal throughout the cook makes a massive difference in ash production. Most people just dump and pray, but smart grillers use strategic loading patterns.
The pyramid method:
- Start with a compact pyramid in the center
- This promotes even burning and efficient airflow
- Ash falls away from the burning zone instead of smothering active coals
For long cooks: Add small amounts of fresh charcoal every 45-60 minutes rather than dumping large quantities. Fresh charcoal added to hot coals lights faster with less smoke and ash.
The spacing trick: Leave small gaps between briquettes when loading. Coals touching on all sides create incomplete combustion pockets that generate extra ash.
Hot zones vs. cool zones: Keep your active cooking area over the hottest, cleanest-burning coals. Use the cooler edges for keeping food warm, where any residual ash won't affect your cooking.
Putting It All Together: Your Clean Grilling Game Plan
Here's your step-by-step action plan for dramatically less ash:
- Invest in quality fuel: Switch to Nakia Coco Charcoal for instant 85% ash reduction
- Set up smart airflow: Bottom vents 75% open, top vents fully open, clean monthly
- Time your preheat: 15-minute controlled heat buildup before cooking starts
- Load strategically: Pyramid setup with small gaps, add fuel gradually for long cooks
- Clean as you go: Light tapping during cooking, shop vacuum cleanup after each session
The results? You'll see dramatically less ash, more consistent temperatures, easier cleanup, and better-tasting food. Your grill will stay cleaner longer, and you'll actually enjoy the entire BBQ process instead of dreading the aftermath.
Ready to transform your grilling experience? Start with switching to coconut charcoal – it's the single biggest impact you can make. Check out our complete guide to coconut charcoal benefits to see exactly how this simple switch can revolutionize your BBQ game.
Your future self (and anyone who has to help with cleanup) will thank you for making these changes. Time to stop creating ash mountains and start creating BBQ magic instead.